What the AI assistant does
You write your request in the chat and the assistant does it in your shop. The connection is OpenShop's MCP server, and it works with both Claude and ChatGPT.
- Create a new shop step by step and fill in its name, introduction and contact details.
- Choose your shop's theme and set up home page blocks and banners.
- Add and edit products, categories, brands and variants.
- Prepare product photos in your shop theme's size and background colour.
- Set up delivery terms, branches, shop policies and order rules.
- Create e-book, downloadable file and digital code products, and set their delivery format and download limits.
- Prepare video course sections, lessons, price plans and access periods.
- Set up booking services, rooms, staff, working hours and closed days.
- Create and publish events and ticket types (granted as a separate permission).
The assistant only works on the activities turned on in your shop (Settings, Activities). If one is off, it shows you the change to turn it on and asks you to approve it first.
Connecting to Claude
The connection address: https://mcp.openshop.mn/mcp. You can also copy it from the How to connect guide on the AI assistant page of the console.
- Open Connectors in Claude's Settings menu.
- Click Add custom connector.
- Set the name to OpenShop and the address to the connection address above, then click Add.
- Click Connect and id.openshop.mn opens. Choose your shop and permissions there and approve (see the section below).
It works the same in claude.ai, Claude Desktop and the mobile app.
Connecting to ChatGPT
- Open ChatGPT's Settings menu.
- Turn on Developer mode under Apps & Connectors, Advanced settings.
- Click Create to make a new connection. Name: OpenShop. Paste https://mcp.openshop.mn/mcp into the MCP server URL field and set Authentication to OAuth.
- Click Create, then Connect. id.openshop.mn opens, and you choose which shop to grant which permissions.
Granting permissions on id.openshop.mn
- Choose your shop under Which shop to connect. Choose a new shop to create one step by step with the assistant.
- Tick the permissions to grant in the What the assistant can do list. The first permission is always granted.
- Click Allow and confirm with Yes, allow. If you do not want to, click Deny.
- View shop settings, products and theme (required). Orders and buyer data are not included.
- Add and edit products, categories, brands and photos.
- Set up the theme, home page, banners, branches and delivery.
- Edit shop details, contacts, policies and rules.
- Delete products, categories and brands. This cannot be undone, so it shows with its own warning.
- Create and edit events and ticket types. Attendee data is not included.
- Create a new shop. Only when you are DAN-verified and within your shop limit.
The assistant is connected by the shop owner or someone with permission to manage integrations. You can only grant the assistant permissions you have yourself. Staff accounts with a username and password cannot connect it; sign in with your Google account.
Approving changes and disconnecting
Nothing changes in one click. The assistant first shows in the chat what it will change. Only after you check and approve does it save exactly that change, and nothing else is saved. Deletions and changes that cannot be undone are confirmed separately.
- The assistant shows in the chat what it will change.
- You check and approve it, or ask for corrections.
- Once you approve, the assistant makes the change.
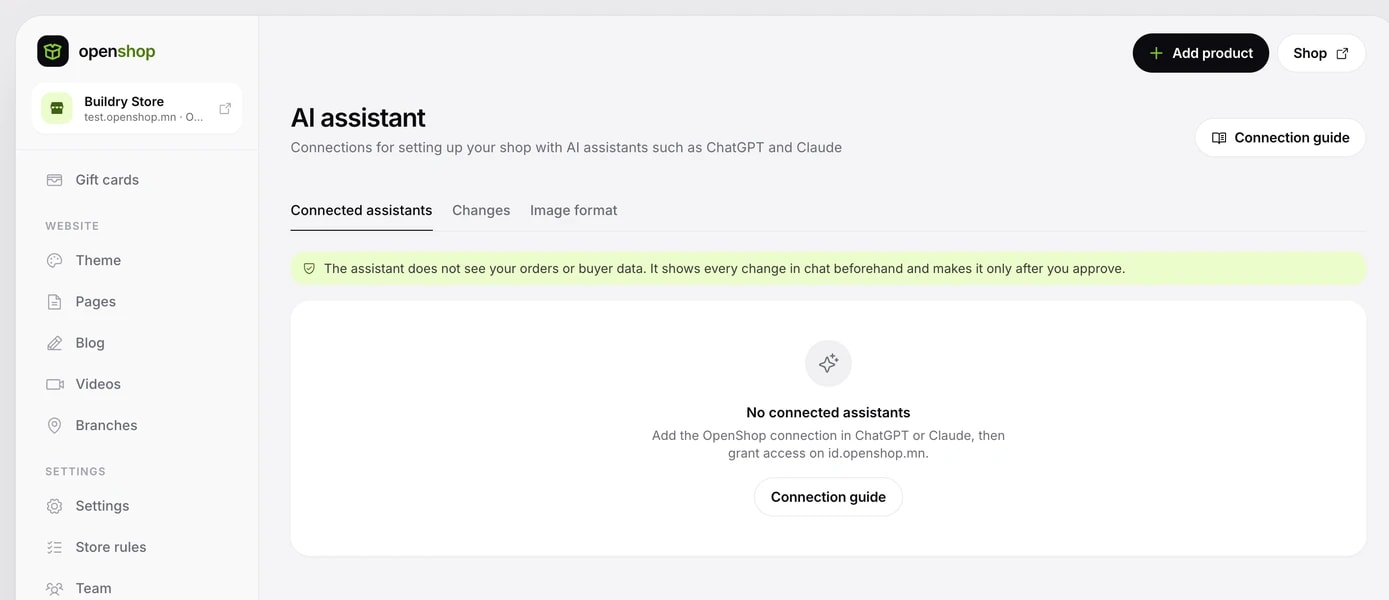
The AI assistant page in the console's Settings menu has three parts.
- Connected assistants: each connected assistant, who connected it, when, and when it was last used. Click Disconnect and the assistant loses access to your shop at once. To use it again, connect it again from the assistant and grant permissions.
- Changes: every change made through the AI assistant, with who changed what and when. Filter by Search, Assistant, Action and Status.
- Photo format: choose the background style and colour for the product photos the assistant prepares. Starting from your own photo, the assistant only adjusts the background, lighting and position, never the product itself. Existing photos do not change.
API keys
Outside systems such as a point of sale, a messaging tool or an ERP use an API key to connect to your shop. It is under Settings, Integrations. The owner and admins manage integrations.
- Click New key in the API keys section.
- Write a name that identifies which system uses it (for example Shop till).
- Choose only the permissions you need, to view or edit products, orders and buyer data, and click Create.
- The key is shown only once. Copy it and pass it to your developer securely.
- A key's permissions cannot be changed later. Create a new one and revoke the old one.
- Click Revoke and any system connected with that key stops working at once.
- The list shows each key's permissions, when it was last used and when it was created.
Webhooks
Events such as an order being paid are sent straight to your server. That way your system does not need to keep checking the payment status.
- Click New endpoint under Webhooks in Settings, Integrations.
- Write an address that starts with https:// and is reachable from the internet. A description is optional.
- Tick the events you want to receive and click Add.
- The signing secret is shown only once. Copy it and set it up on your server.
- Click Send test to check the connection. See the result under History.
- Events by group: Orders (created, paid, expired, shipped, fulfilled, fulfilment reverted, underpaid, extra charge invoiced, extra charge paid), Products (added, updated, published, deleted), Customers, Gift cards, Bookings, Reviews, Payment links and Surveys. Tick All to pick a whole group at once.
- Every request is JSON signed with the secret. Your server checks the signature before accepting it.
- A failed delivery is retried up to 8 times over about 2 days. After many failures in a row, the endpoint stops automatically; check your server and click Activate.
- Under History, resend failed deliveries one by one or in bulk (up to 100 at a time).
- The endpoint shows only the last 4 characters of the secret. Click Rotate secret and confirm by signing in again to get a new secret, shown once. The old one keeps working alongside it for 24 hours, so update your server in that window.
- Add up to 5 endpoints per shop.
Apps and product feeds
Third-party apps you install appear under Apps in Integrations. An app works only with the permissions you approved, and only in this shop. Click Disconnect on an app you no longer need and its access and notifications stop at once. To use it again, install it again.
Product feeds are two links that let Facebook and Google catalogs pull your active products automatically: CSV and XML (RSS). No password or key is needed.
- Copy a link with the Copy button under Product feed in Integrations.
- Facebook: in Commerce Manager, Catalog, Data sources, Data feed, Scheduled feed, enter the XML link and choose a schedule.
- Google: in Merchant Center, Products, Feeds, Scheduled fetch, enter either link.
Feeds include only active products; drafts and cost data never appear. They update within 5 minutes of a catalog change. With your own domain active, the links use that domain.