Adding a digital product
First turn on E-books and files or Video courses on the Activities tab of the Settings page. Each one you turn on appears in the menu.
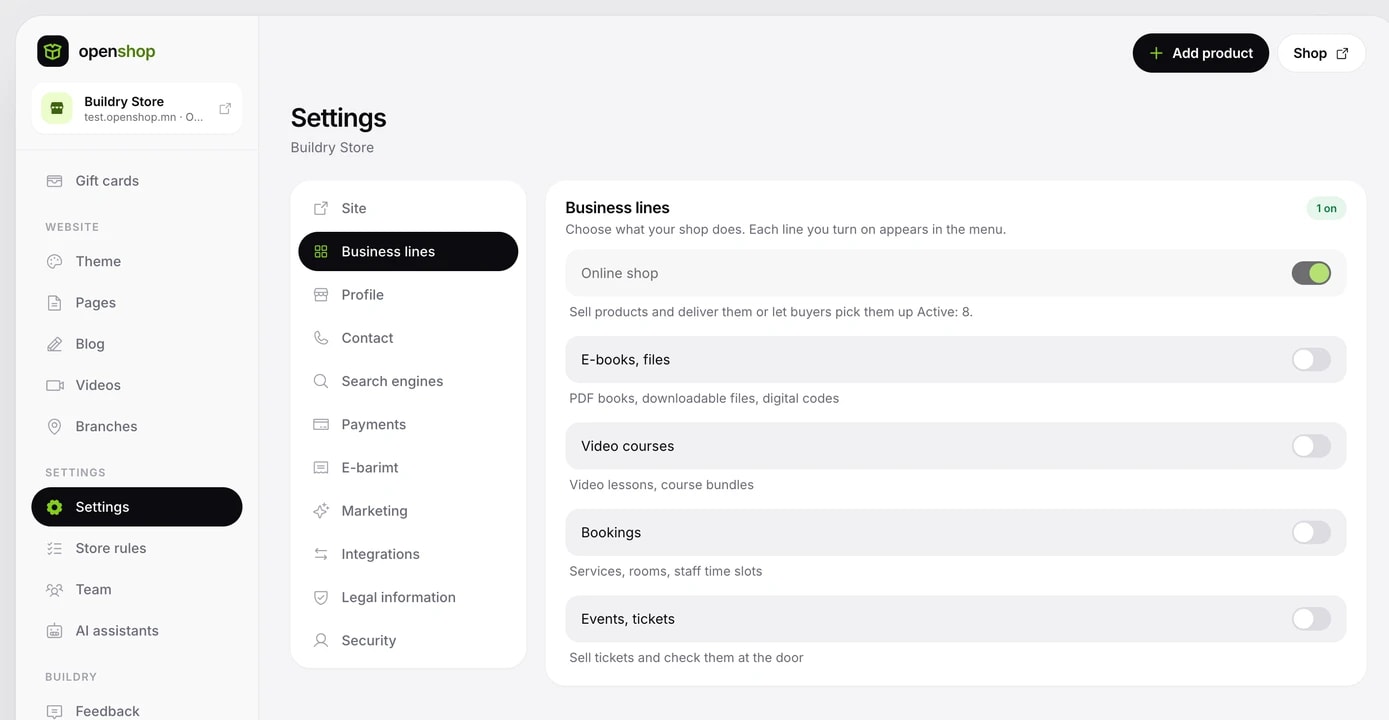
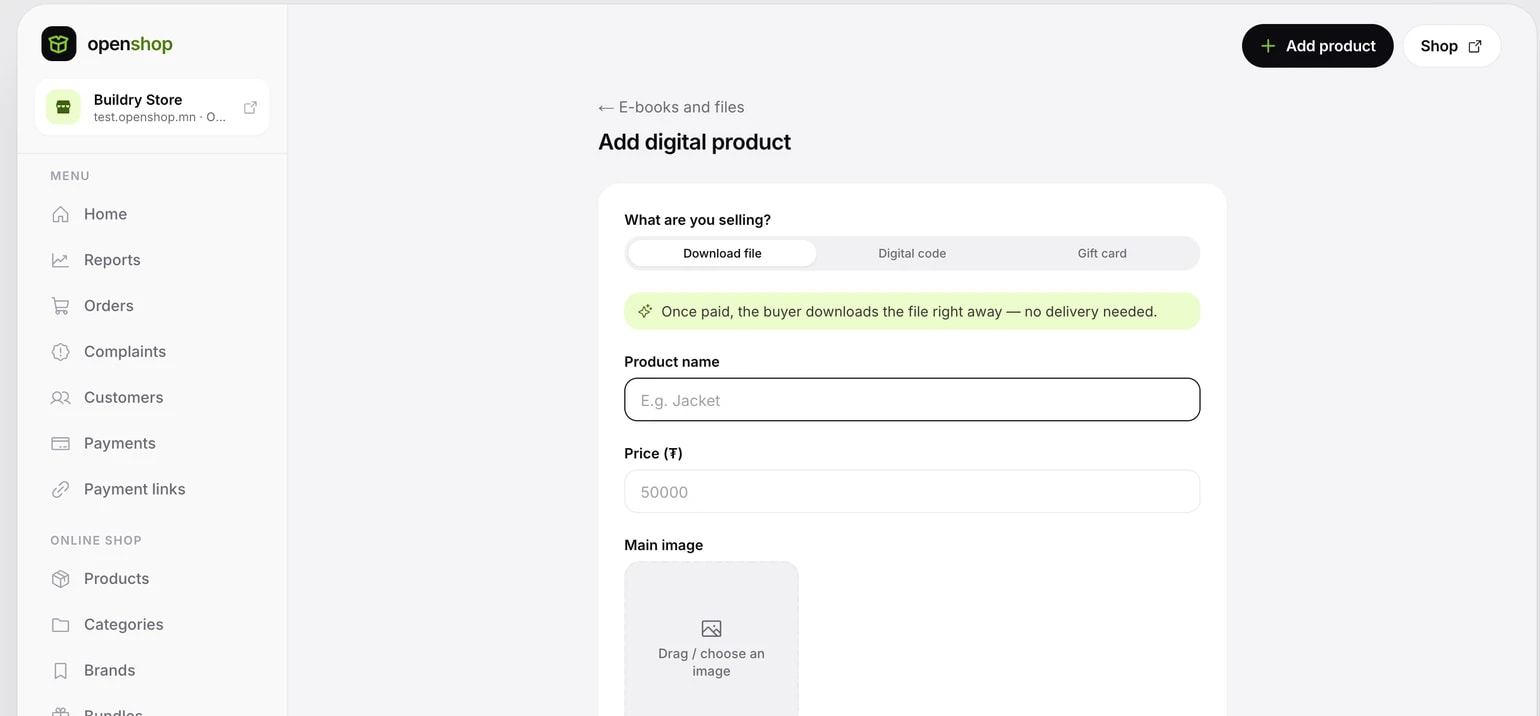
- Go to Digital products under E-books and files in the menu and click Add digital product.
- Under What do you sell?, choose Downloadable file or Digital code.
- Enter the Name, Price (₮) and Main photo and click Create. The Delivery tab of the edit page opens right away.
Orders with only digital products do not ask for a delivery address or delivery fee. To publish, you need the same basics as a regular product (name, price, photo, description, category) plus at least one ready file.
Uploading files and the virus scan
- Drag your file into Downloadable files on the Delivery tab, or choose it.
- As soon as the upload finishes, the file goes through a virus scan. Buyers can open it only once it is ready.
- If the upload breaks, Resume continues from where it stopped.
- Up to 10 files per product. The maximum size per file is written under the file picker.
- PDF, EPUB, ZIP, DOCX, XLSX, PPTX, MP3, M4A, WAV, MP4, PNG, JPG, WEBP, PSD, AI, TTF, OTF, WOFF2, TXT and CSV files are allowed. Executable files such as exe and apk are not.
- A file in which harmful code is found becomes Rejected and you get an email. Upload a clean version again.
- Deleting a file does not take access away from people who already bought it; only new buyers no longer see it.
- Storage usage shows at the top of the tab.
Under Download limits, set How many downloads and How many days, then click Save. New products start at 5 downloads and 30 days. Empty means no limit. Changes apply only to new purchases.
The toggle to stamp every PDF page with the buyer's name, order number and tracking code is on for new products. The stamp is applied at download time, so it also covers earlier buyers' next downloads. The stamped version is ready in a few minutes. Until then, and for PDFs larger than 25 MB, files download unstamped.
The online reader (PDF books)
Buyers can read a PDF book in their browser without downloading it.
- Under Delivery format on the Delivery tab, choose Download, Read online or Both.
- Click Save, then Change in the confirmation.
- Upload your PDF. The pages are prepared in a few minutes.
- Read online and Both work only with PDF files. Delete any non-PDF files first.
- Every online page is faintly stamped with the buyer's name, order number and tracking code.
- With Read online, the buyer cannot download the file. You can set the access period in days.
- A read-online product is not published until its pages are ready.
- Changing the format applies only to new purchases. Earlier purchases stay as they were.
Digital codes (licenses, vouchers)
Enter codes such as licenses and vouchers in advance. As soon as the payment is made, one code is given to the buyer automatically.
- Create a product of the Digital code type and go to the Code pool section of its Delivery tab.
- Under Add codes, choose a CSV/TXT file (up to 2 MB, one code per line), or paste them into the Or paste here field. If the product has variants, choose the Variant.
- Click Check to see how many will be added, how many are duplicates and how many are invalid.
- Click Add. Up to 10,000 codes at a time.
- Stock is counted automatically from the ready codes in the pool. When codes run out, the product shows as Sold out.
- Codes are stored encrypted, so the console never shows them in full again. Keep your original file.
- Set a low-codes email threshold and you get an email when the ready codes fall to that number.
- If codes run out, buyers who paid wait for their code. As soon as you add new codes, they are given out automatically in order of purchase.
- Remove a code that has not been given out with Remove.
Copy check
If a book, file or code has been shared, find out whose purchase it came from. Go to Copy check under E-books and files in the menu.
- Under What are you checking?, choose Tracking code, File or Digital code.
- Type the 10-character tracking code from the stamp, drag in the suspicious file, or type the code.
- Click Check, then Check again in the confirmation.
If it matches, you see the buyer, order, date, product, delivery format, download count and tracking code. The check is logged under your name. A checked file is not kept; it is deleted at once.
Creating a video course
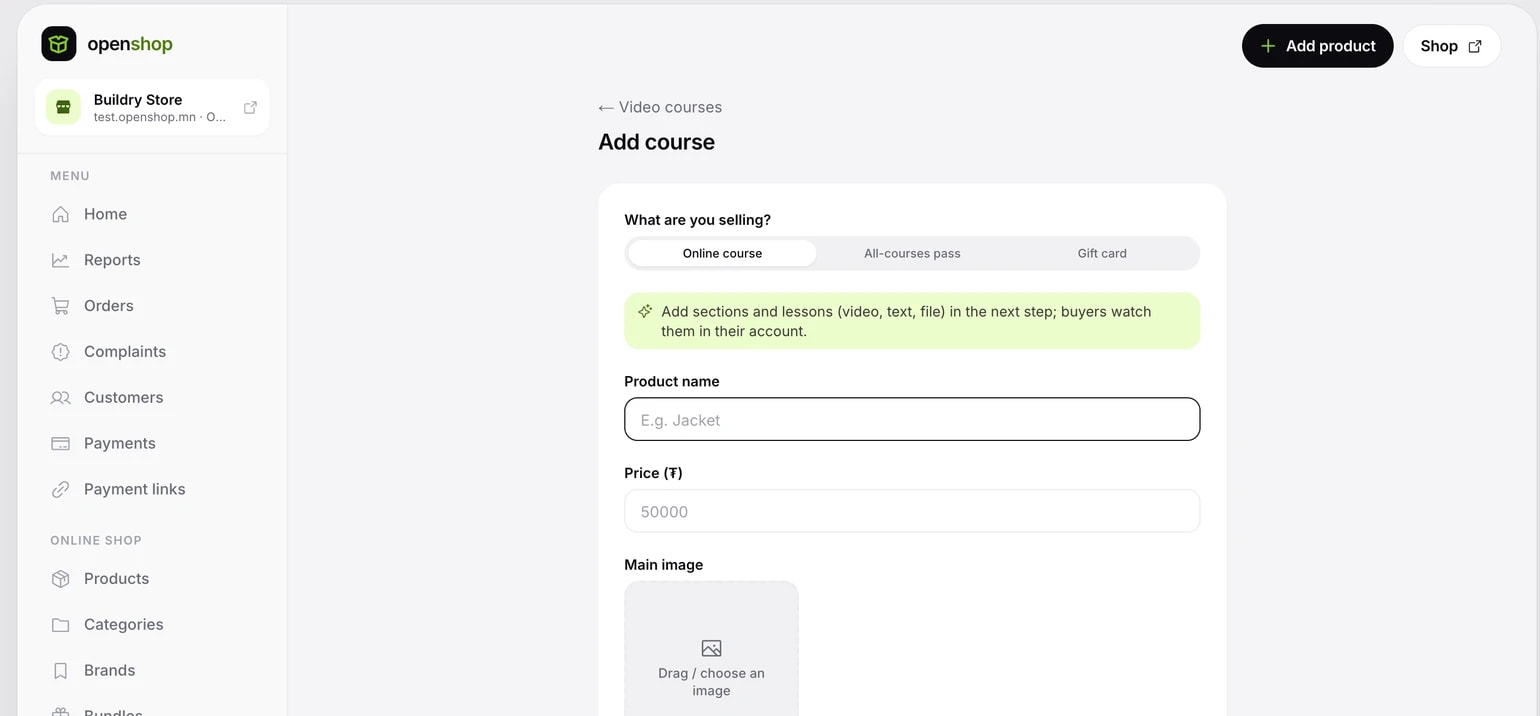
- Go to Courses under Video courses in the menu and click Add course.
- Under What do you sell?, choose Online course, enter the name, price and photo, and click Create.
- Click Edit course curriculum on the Delivery tab.
- Add a section with + Section and write its name and a short description.
- Add lessons with + Lesson under the section: Name, Type (Text, Video, File), Short description, Thumbnail (16:9) and Duration.
- Click Save.
- Videos up to 4 GB are converted to 240p to 720p. Processing takes a few minutes.
- Lessons with the Free preview toggle on are open to everyone on the product page.
- Attachments in File lessons can be downloaded only by enrolled students, up to 20 times a day.
- If you change a lesson's type away from Video, the uploaded video is deleted for good. To add text under a video, write it in the Text below the video field.
- The page cover image (3:1) shows at the top of the product page.
- Change the order of sections and lessons with the Up and Down buttons. Deleting a section also deletes its lessons and students' progress.
Publishing a course needs at least one ready lesson. The Students button shows each buyer's progress, last viewed date and when their access ends.
Access periods and price options
Sell a course at one price, or at different prices for several periods (for example 30 days, 90 days or lifetime).
- Click + Option in the Access options and prices section of the course curriculum page.
- Turn on Lifetime, or write the Days (1 to 3650). Write the Price (₮). A name is optional.
- Click Save. Add up to 6 options per course.
For a single-price course, add no options. Choose Lifetime or By days under Access period and click Save.
- The product's Sale applies to every option.
- Changing the period applies only to new purchases.
- Buying timed access again adds to the days left.
- A student's progress is kept after their access ends.
- Delete the last option and the course goes back to a single price. Earlier buyers keep their access.
The all-courses pass
One payment opens every published course in your shop, including courses added later, for a set period. Draft courses are not included.
- On the Add course page, choose All-courses pass under What do you sell? and create it.
- Click Edit pass periods and prices on the Delivery tab.
- Add at least one period and price with + Option (for example 200 days).
The Courses in this pass list shows which courses the pass covers. Publishing a pass needs at least one published course.
How buyers receive it
- Buyers who are not signed in must enter their email when ordering a digital product.
- As soon as the payment is made, they get an email saying their purchase is ready. The Open your purchase button lets them download the file, read online, see their code or start the course.
- Signed-in buyers can also open it from their order history.
- To watch a course, the buyer signs in and links it to their account with Start course. After that they watch it from My courses in your shop.
- If codes had run out, another email goes out as soon as a code is ready.
Manage a buyer's access from the Digital delivery section of the order details.
- Resend link: sends a new link to the buyer's email.
- Revoke links: closes the old links if a link has leaked.
- Reset count: starts the download count again from zero.
- +30 days: extends the access period.
- Unlink from account: when a course was linked to the wrong account.
- Revoke access: a reason is required. It has no automatic effect on the payment.