Creating a coupon
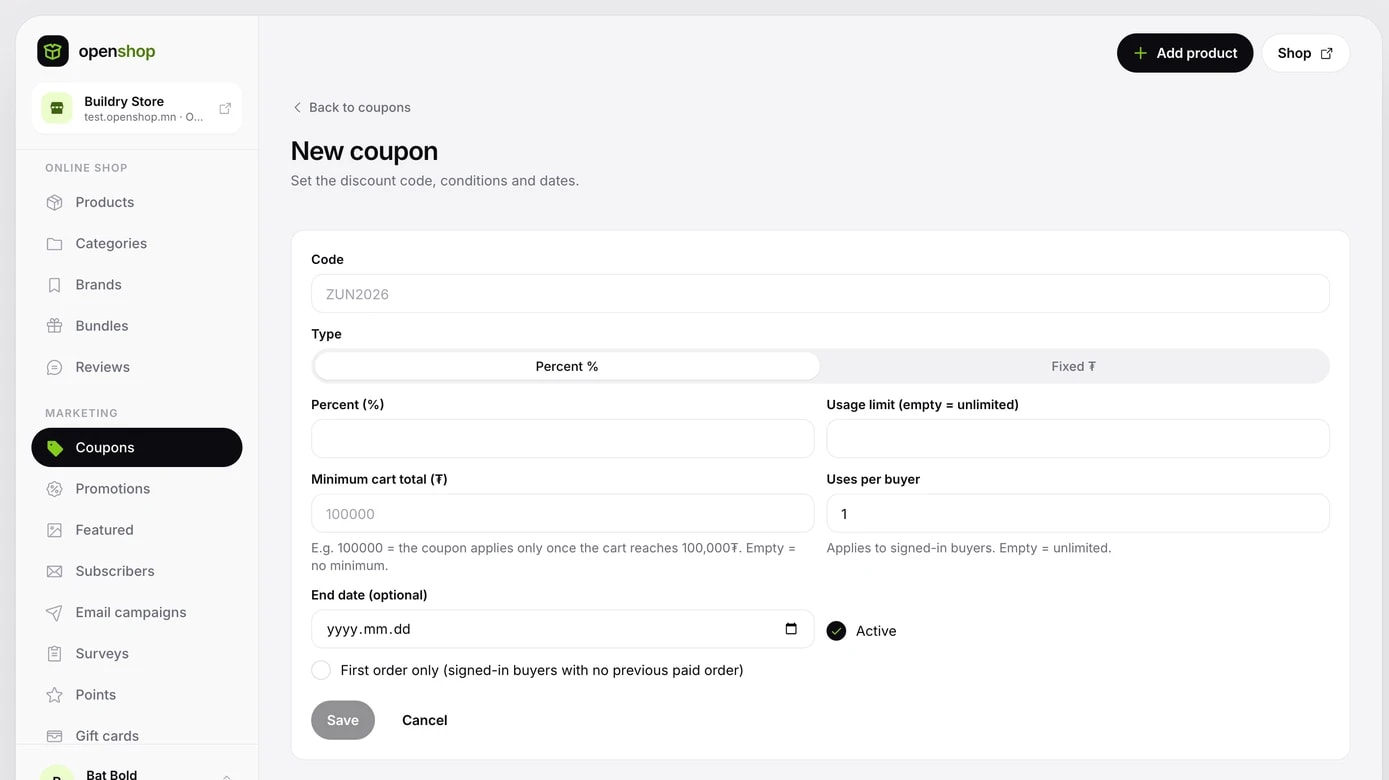
- Go to Marketing → Coupons and click Add.
- In the Code field, enter the code buyers will type (for example SUMMER2026). Codes are saved in capitals and cannot be changed after creation.
- For Type, choose Percent % or Fixed ₮ and write the percentage or amount.
- Add conditions if needed: Usage limit (total uses), Minimum cart amount, Uses per buyer and End date. An empty field means no limit.
- To target new buyers only, tick First order only.
- Tick Active and click Save.
Buyers type the code when ordering to get the discount. The list shows how many times each coupon was used and when it ends, and you manage them with Pause, Activate, Edit and Delete. The edit page shows the coupon's change history.
The Paid orders, Sales and Discount given columns of the coupon list show the paid sales made with each coupon. Sales is the total of paid orders (including delivery, after discounts). Click the order count to open that code's orders.
Assigning coupons to customers
You can give a personal code to specific customers. Each assignment creates a new one-time code that is sent to that customer's email. The coupon's main code stays as it is.
- Click Edit on an active coupon in Coupons.
- Click Choose customers under Assign to customers at the bottom.
- Search customers who have bought before by name, email or phone, choose them and confirm with Assign.
- A personal code works only when that customer is signed in.
- Codes cannot be assigned to unregistered guests.
- Customers see their code under Coupons for you in their shop account.
- Move an unused code to another customer with Transfer, or void it with Cancel. Cancelling does not notify the customer.
- Expired or paused coupons cannot be assigned.
Promotions: 2+1, 1+1 and gifts
Promotions need no code: they apply in the cart automatically when the conditions are met. There are two types: N+M (for example 2+1, 1+1, or buy 2 and get the third at 50%) and Gift (a gift for certain products or a cart amount).
- Go to Marketing → Promotions and click Add.
- Write a name that makes sense to you in the Name field (for example Spring 2+1).
- For Type, choose N+M (2+1, 1+1) or Gift.
- For N+M, fill it in with the 2+1, 1+1 or Buy 2, third at 50% buttons, or write the Buy quantity (N), Discounted quantity (M) and Discount (%) fields yourself. A discount of 100 makes M items free; 50 makes them half price.
- For Gift, under When is the gift given?, choose By quantity (when a set number of chosen products is bought) or By cart amount (when the products total reaches a threshold). Then search for the product in the Gift field, choose the variant and write the Gift quantity.
- Under Eligible products, choose the products and categories the promotion covers. This section is hidden when the gift is given by cart amount.
- Under Period and limits, fill in the Start and End dates, Total uses and Uses per buyer if needed. Empty or 0 means no limit.
- The What the buyer gets panel on the right shows the conditions as a plain sentence. Clicking Create shows that sentence again in the confirmation, so read it and confirm.
- With N+M, the cheapest items in the cart are discounted. Different colours and sizes of a product, and the different products you chose, count together.
- The gift is added to the cart at its real price and then brought to 0₮. Buyers cannot change or remove the gift quantity.
- A product priced at 0₮ cannot be a gift. When the gift product runs out, the promotion pauses and the product badge is hidden. It applies again as soon as stock is added.
- The list shows each promotion's status, period, how many times it was used and how many ₮ it discounted in total. Manage them with Edit, Pause, Resume and Delete.
- A promotion that has been used in an order cannot be deleted. Use Pause instead.
How promotions combine with other discounts
An order's price is worked out in this order: product sale → bundle → promotion → minimum order amount and the threshold above which delivery costs nothing → coupon → points → delivery → gift card. Thresholds are checked against the products total after promotions.
- Products already on sale are left out of promotions by default. To include them, tick Include sale products; the promotion is then applied on top of the sale price.
- Bundle products, digital products, courses and gift cards are not included in promotions.
- Only one promotion applies to each line. If several match, the one with the biggest discount for the buyer is chosen.
- Unless Can be used with coupons is ticked, a cart where that promotion applies cannot take a coupon, and automatic coupons do not apply either. Buyers are shown the reason.
- Per-buyer limits apply to signed-in buyers and are checked when the order is confirmed. So the amount seen in the cart can change at checkout, and the buyer accepts the new amount again.
- On the e-barimt, the gift appears as its own line at its price and the discount is spread across the lines. That way the receipt total equals what the buyer paid.
Featured banners
In Featured, add the banner slides that run at the top of the home page.
- Go to Marketing → Featured and click Add banner.
- Upload a wide 16:9 image (for example 1280×720).
- For the link, choose Product to point to a product, or Custom link and write an address.
- Change the order with the Up and Down buttons and click Save.
Email subscribers
Add an Email sign-up block to your home page and visitors leave their email to get your news. Collected addresses appear in Marketing → Subscribers with their sign-up date and status.
- Download the list as a CSV file with Download Excel.
- Remove an address from the list for good with Delete.
- An address with the Unsubscribed status has opted out of your news.
The points programme
In Marketing → Points, set the rules for rewarding buyers with points or stamps. Points are not money: they can only be spent as a discount in your shop, and they cannot be transferred or cashed out.
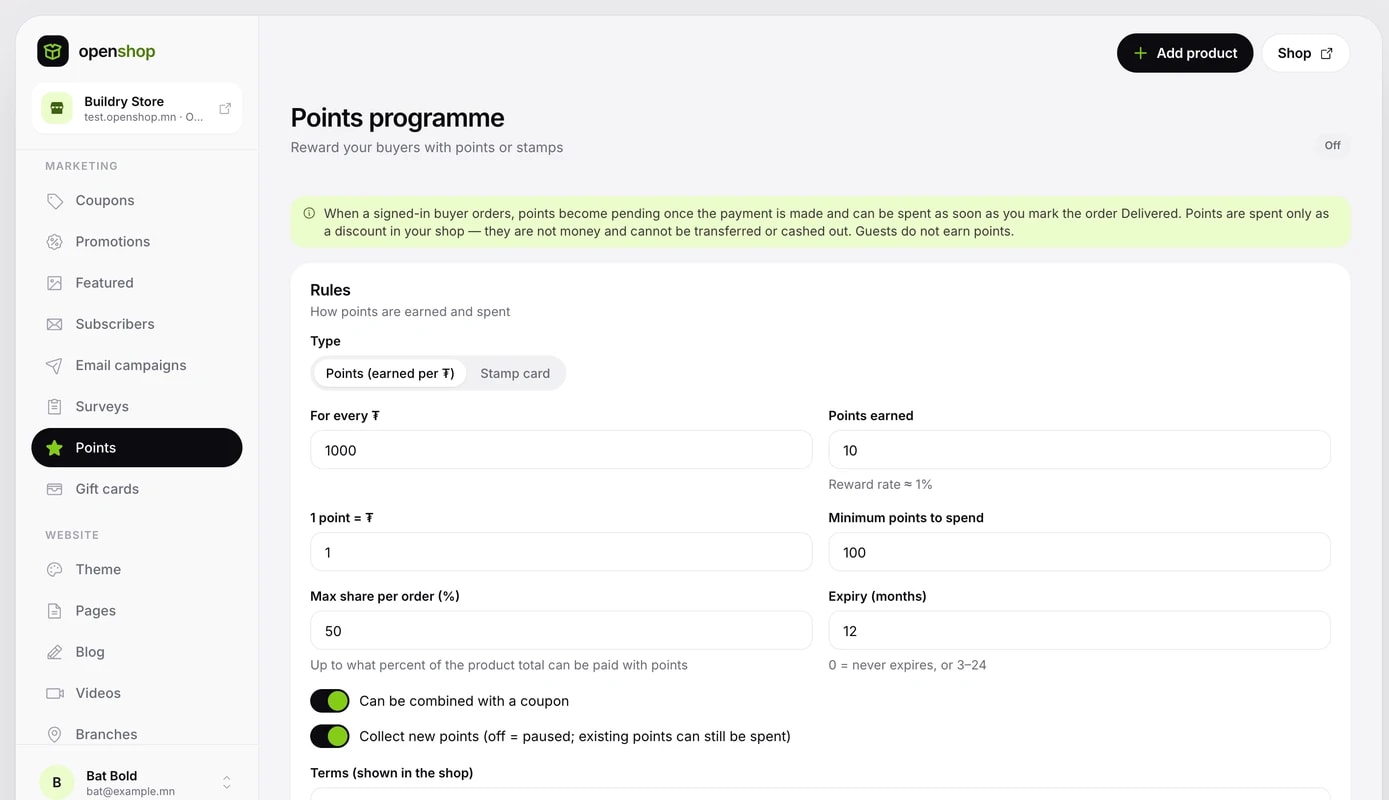
- For Type, choose Points (earned per ₮) or Stamp card.
- For points, fill in Every how many ₮, How many points, 1 point = ₮, Minimum points to spend and Maximum share of an order (%).
- For a stamp card, fill in the Minimum amount for a stamp, Stamps for a reward and Reward (₮ discount).
- Enter the expiry in months: 0 for no expiry, or 3 to 24 months. Choose whether it can be used with coupons.
- Write the description shown in your shop in the Terms field and click Turn on.
- Points are earned only by buyers who are signed in when they order. Guests do not earn points.
- When the payment is made, points are pending, and they can be spent as soon as the order is marked Delivered.
- New rules apply only to future orders; points already earned stay as they are.
- When you turn the programme off, customers with points can spend them for 30 days and get one email notice. During that time you can Cancel the closing.
Selling gift cards
A gift card is issued by your shop and can only be spent in your shop. It cannot be used in other shops, cashed out or topped up. The card balance is your shop's obligation.
- When adding a new product in Products, choose Gift card under What do you sell? and enter the name and photo. The product photo becomes the card design.
- On the Gift card tab of the product's edit page, add the amounts buyers can choose (up to 8). Choose whether buyers can enter their own amount.
- Set the Validity period, Bonus (%), Card design and Terms, and click Save. Then publish the product.
- The bonus is 0 to 20%. For example, at 10%, paying 100,000₮ gives a 110,000₮ card. The bonus part does not count as sales.
- There are five card designs, coloured in your shop's main colour. They look the same in the email and in print.
- Buyers get their code by email. When ordering, they enter it with the Use a gift card link and pay.
Issuing and managing cards
Marketing → Gift cards lists every card sold or issued, with its status, original amount and balance. Filter by status and source, and search by the last 4 characters or the order ID.
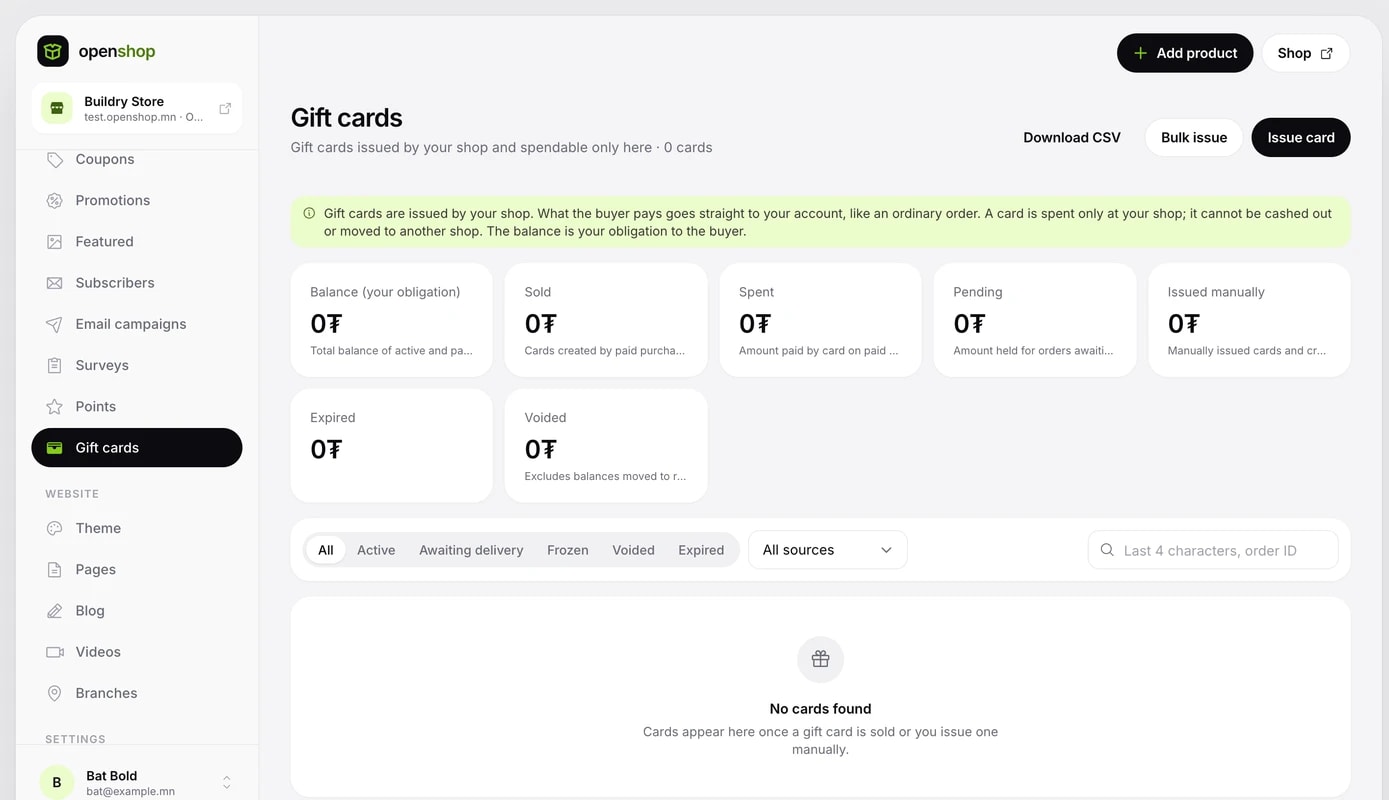
- Issue a card: write the amount, validity and reason. If you write the recipient's email, the code is sent to that address. Leave it empty and the code is shown on screen only once.
- Issue in bulk: issue up to 200 cards at once with a CSV file. Get the file format with the Download template link. The recipient's email is required, and Check shows errors in advance.
- Click a card to open its transaction history. From there you can pause, void or reissue the card, or adjust the balance.
- The Print button produces a printable version of the card. The full code is only in the card email (or shown once when issued by hand).
- Holders of cards with an expiry automatically get reminder emails 30 and 7 days before it ends.
Unpaid-order reminders
If a signed-in buyer creates an order and does not pay, about 1 hour later one reminder goes to their registered email, and they can restore the cart in one click. Emails are sent between 09:00 and 21:00.
- Go to the Settings → Marketing tab.
- Turn the reminders on or off with the Send email reminders toggle on the Unpaid-order reminder card.
- A sample email shows at the bottom of the card. See the results in Reports.
- Reminders contain no discount.
- One person gets no more than one every 7 days.
- Every email has an unsubscribe link.
Sharing products on Facebook and Instagram
Every published product page in your shop has a Share button. Clicking it opens the share window.
- Facebook post: shares the product link. Facebook reads the name, photo and price from the product page itself.
- Facebook story, Instagram story and Instagram post: prepare the product photo in story or post size. On a phone the app picker opens; on a computer the image downloads. The link is copied, so add a Link sticker to the story and paste it.
- Telegram, Viber, SMS and Copy link send the link directly.
- Embed on a website: copy the code to paste into another website or blog. A product card shows there, and clicking it opens the product page.
Facebook / Instagram catalog
Your active products are mirrored automatically into a Meta Commerce Manager catalog. Every time you add a product, change a price or sell out, the catalog updates itself. Instagram Shop reads the same catalog, so it needs no separate setup.
- In Meta Commerce Manager, create a catalog with Catalogs → Create catalog → Ecommerce and copy the Catalog ID shown in Settings.
- In Business Settings → System users, create a user and give it the Manage catalog permission on the catalog. Under Generate new token, tick catalog_management and get a token.
- Enter the Catalog ID and Access token in the Facebook / Instagram catalog section of the console's Settings → Marketing tab.
- Set Catalog sync to Active and click Save.
- Click Test connection; if the catalog name appears, it is connected correctly.
Only product details (name, price, photo, link) go to the catalog. No buyer data is included. After fixing a token or permission error, resend every product with Sync again.